Hyper-V on Veeam 13

Create Veeam Deployment Kit
On my previous blog post, we are installed Veeam13. You can see the post here Veeam Software Appliance Part 1 and Veeam Software Appliance Part 2. We continue now the configuration of Veeam with the integration of Hyper-V on Veeam 13. To proceed at this integration, we need to generate Veaam Deployment Kit. I prefer use certificate-based authentification to secure the authentification and my Hyper-v is not join at Active Directory domain.
From the Veeam Web Portal console, open Managed Servers and click on Create Wizard Deployment Kit. He permit to configure the integration of Hyper-V server and must be installed on each servers.

The kit is downloaded, extract the downloaded file and copy it on Hyper-V Server.

Install Veeam Deployment Kit
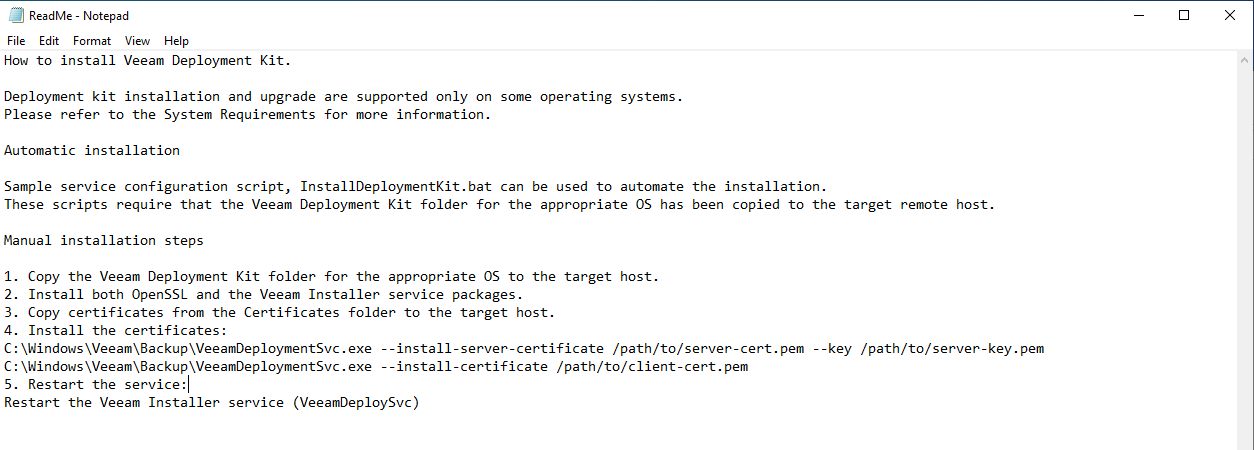
If it’s not already the case, copy the installation files of the Veeam Deployment Kit. Run the Windows Batch File named InstallDeploymentKit. This file permit to install automatically the kit, it’s been used if on your lab you want to use autosigned certificates. On the production, a manual installation steps must be performed for use Internal PKI certificates. This operation are describes on the ReadMe. This operation will be describted on next blog post, some issue with my PKI is keeping me from doing it today.

The Veeam kit appears in the list of applications. There is also a Windows service.


Add Hyper-V Server on Veeam
Now the Hyper-V server can be added. From the web portal console, click on Managed Servers then on Add.

A new Windows appear and permit to add different server. For Hyper-V, Virtualization Platforms must be used. Click on it then click on Microsoft Hyper-V.


It’s possible to add three different servers. Select the desired option, I have only one hyper-v server so i choose Microsoft Hyper-V server (standalone)
- Microsoft System Center Virtual Machine Manager : This option must be used if you use SCVMM for manage all hyper-v servers
- Microsoft Hyper-V cluster : Use this if you have Hyper-V cluster and would like to backup with Veeam
- Microsoft Hyper-V server (standalone) : If, like me, you have only one Hyper-V server, this is the right option

Enter DNS name or IP address of the Hyper-V server and click on Next. Description is not mandatory but can be usefull when there is a lot of server in the infrastructure.

Select Connect using a certificate-based authentification. The Network Settings option permit to configure the port range for the data transfer and port used by the components, it can be usefull if some port must be changed (firewall block trafic, …). Click on Next to validate the modification

We can see on the review witch component are already installed and witch components will be installed. We can also configure the task limit for this server. Click on Next then on Finish to begin.

Hyper-V server is now been added at the Veeam Backup and Replication.
